DIY Guide: Smart Lighting Control System Installation
JH
Introduction to Smart Lighting Systems
Smart lighting systems are transforming the way we illuminate our homes. They offer convenience, energy efficiency, and the ability to control your lights from anywhere in the world. Whether you're looking to enhance your home's ambiance or reduce energy costs, installing a smart lighting control system is a great DIY project that can be completed in a weekend.

Understanding the Basics
Before you begin your installation, it's important to understand the components of a smart lighting system. Typically, these systems consist of smart bulbs, a central hub or bridge, and an app for controlling the lights. Some systems may also include smart switches or dimmers. The hub acts as the brain of the operation, connecting your lights to your home network.
When selecting your system, consider compatibility with your existing devices, such as smartphones and voice assistants. Look for systems that support popular platforms like Amazon Alexa or Google Assistant for seamless integration.
Gathering Your Tools and Materials
To install a smart lighting system, you'll need a few basic tools and materials. Here’s a list to get you started:
- Screwdriver set
- Wire strippers
- Voltage tester
- Smart bulbs and hub/bridge
- Smart switches or dimmers (optional)
- Smartphone or tablet with the system's app
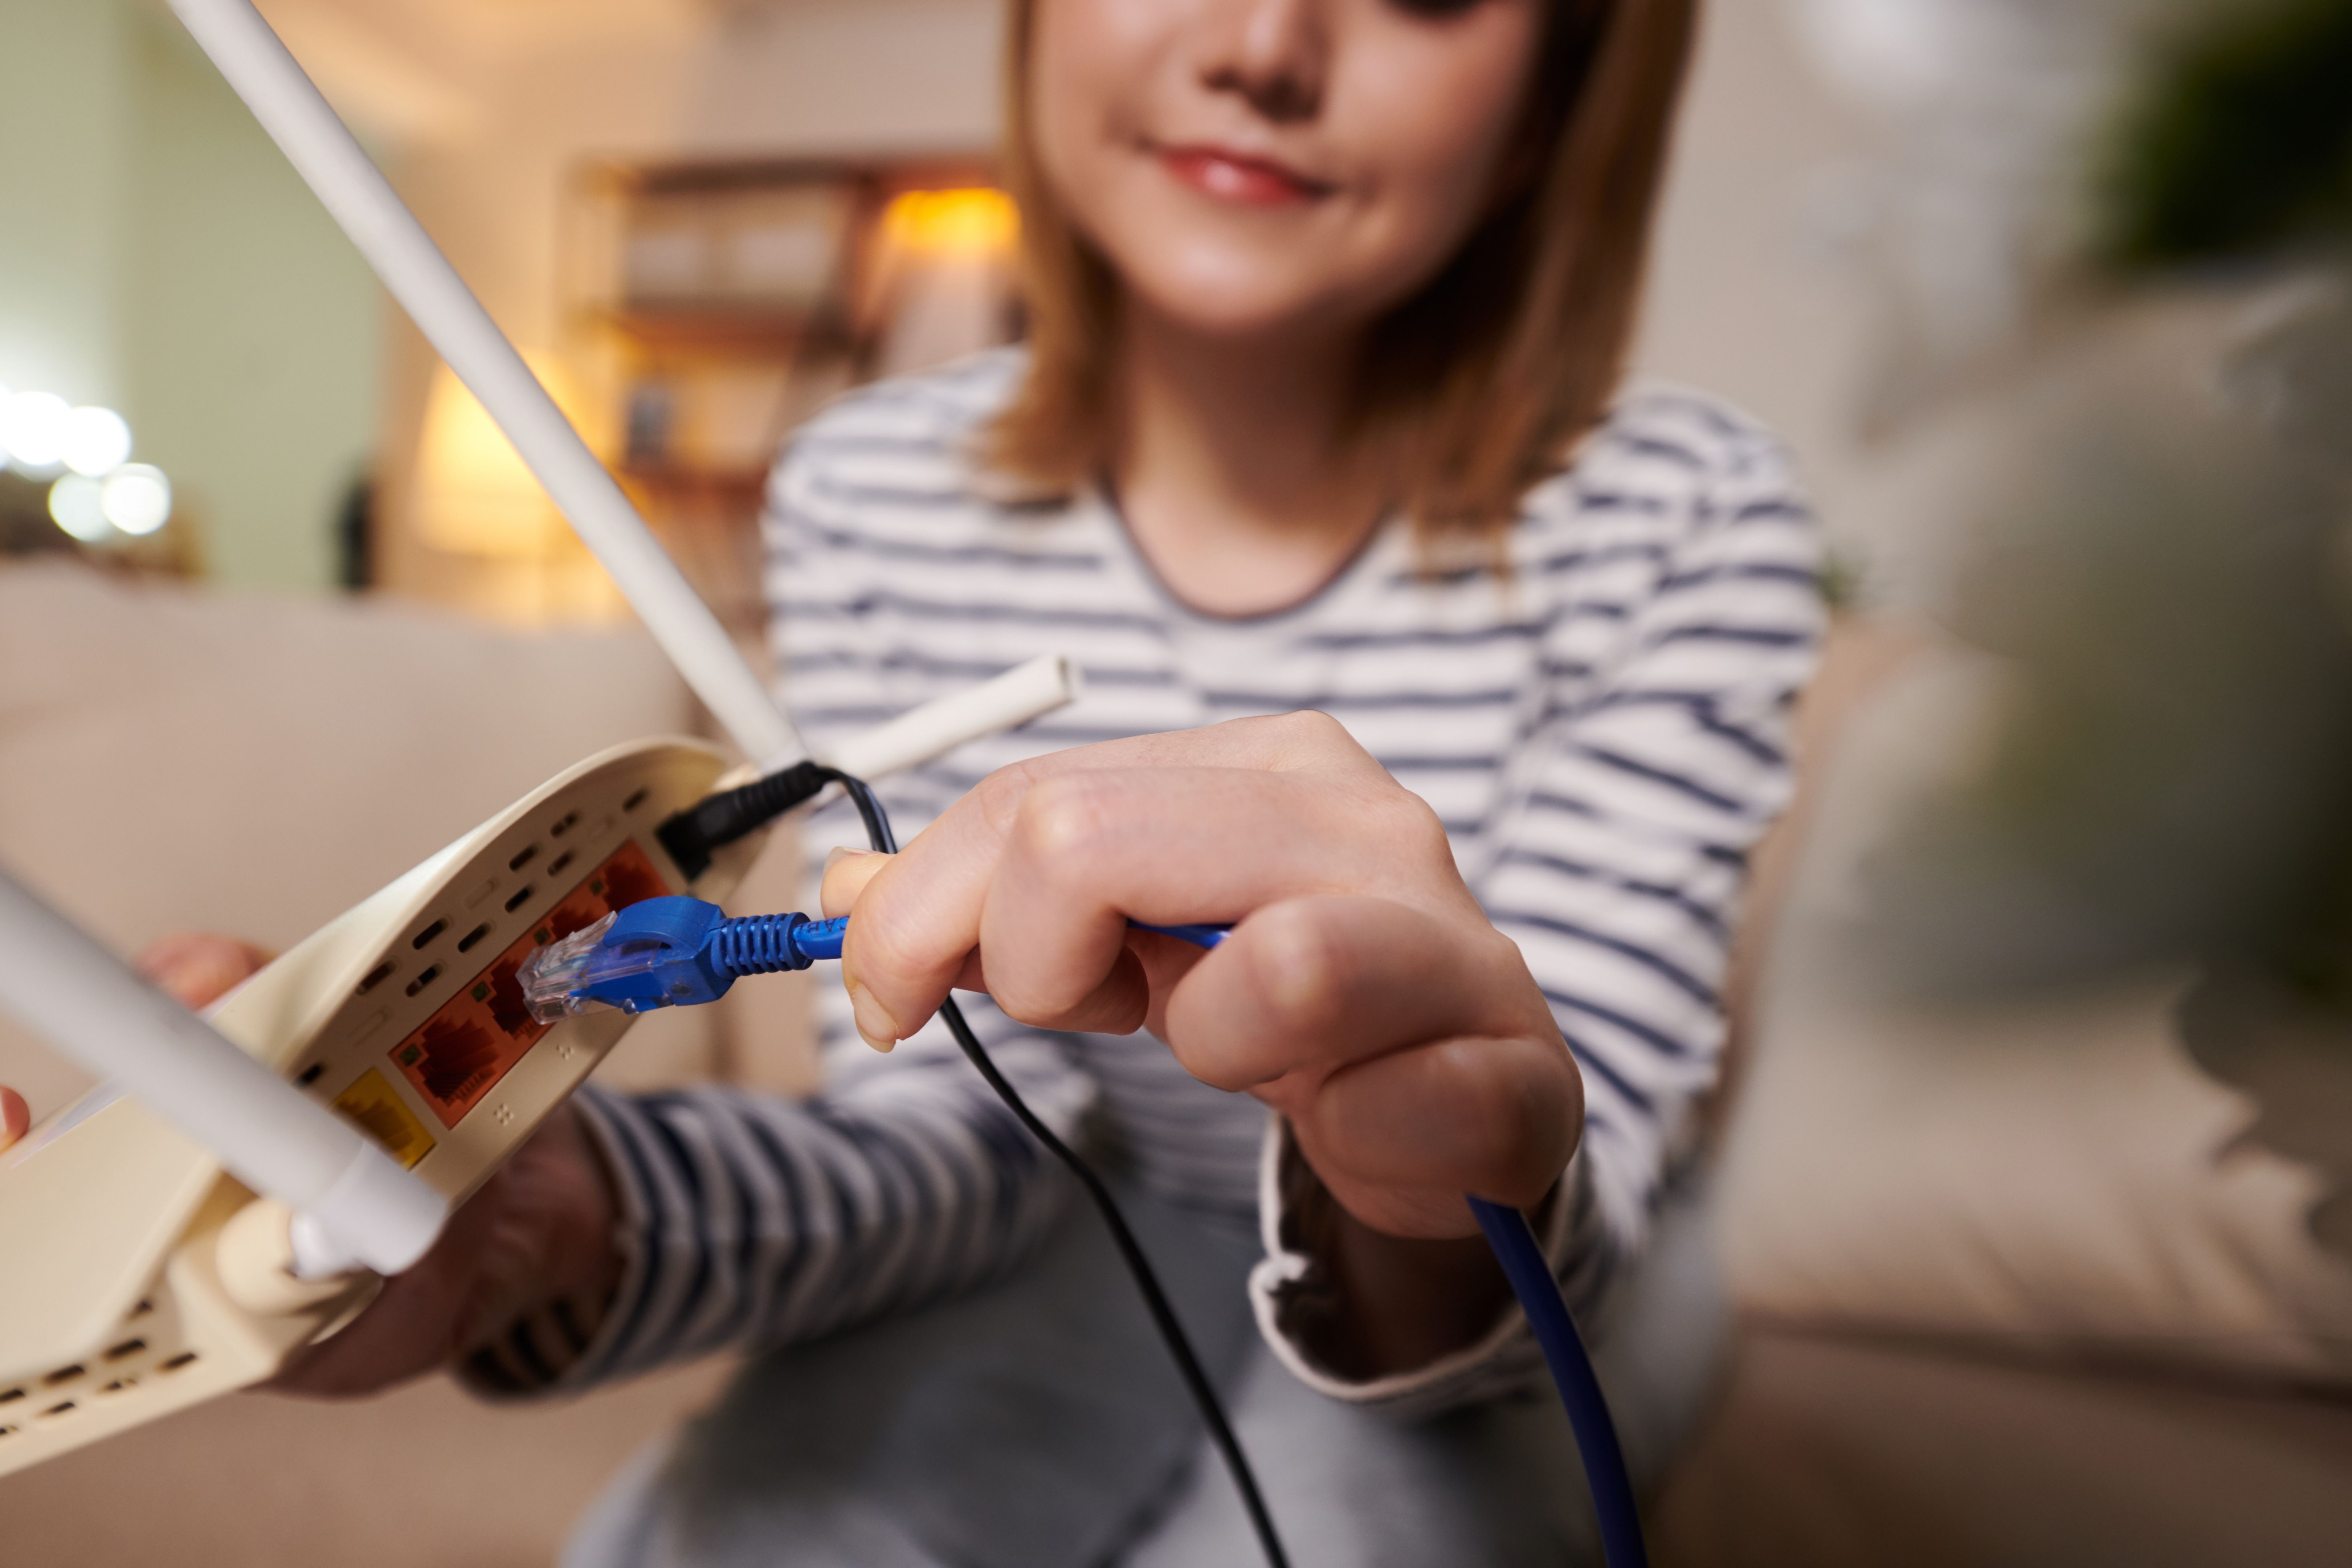
Setting Up the Hub
The first step in your installation is setting up the hub. Follow these simple steps:
- Plug the hub into a power outlet near your router.
- Connect the hub to your router using an Ethernet cable.
- Download the app associated with your smart lighting system on your smartphone or tablet.
- Follow the app's instructions to complete the setup process.
Installing Smart Bulbs
Once your hub is set up, it's time to install smart bulbs. Here's how:
- Turn off the power to the light fixture at the circuit breaker.
- Remove the existing bulb and replace it with a smart bulb.
- Turn the power back on and use the app to add the bulb to your system.
- Name the bulb in the app for easy identification, such as "Living Room Lamp."
Repeat these steps for each bulb you wish to add to your smart lighting system. Ensure each bulb is properly connected by testing it through the app.
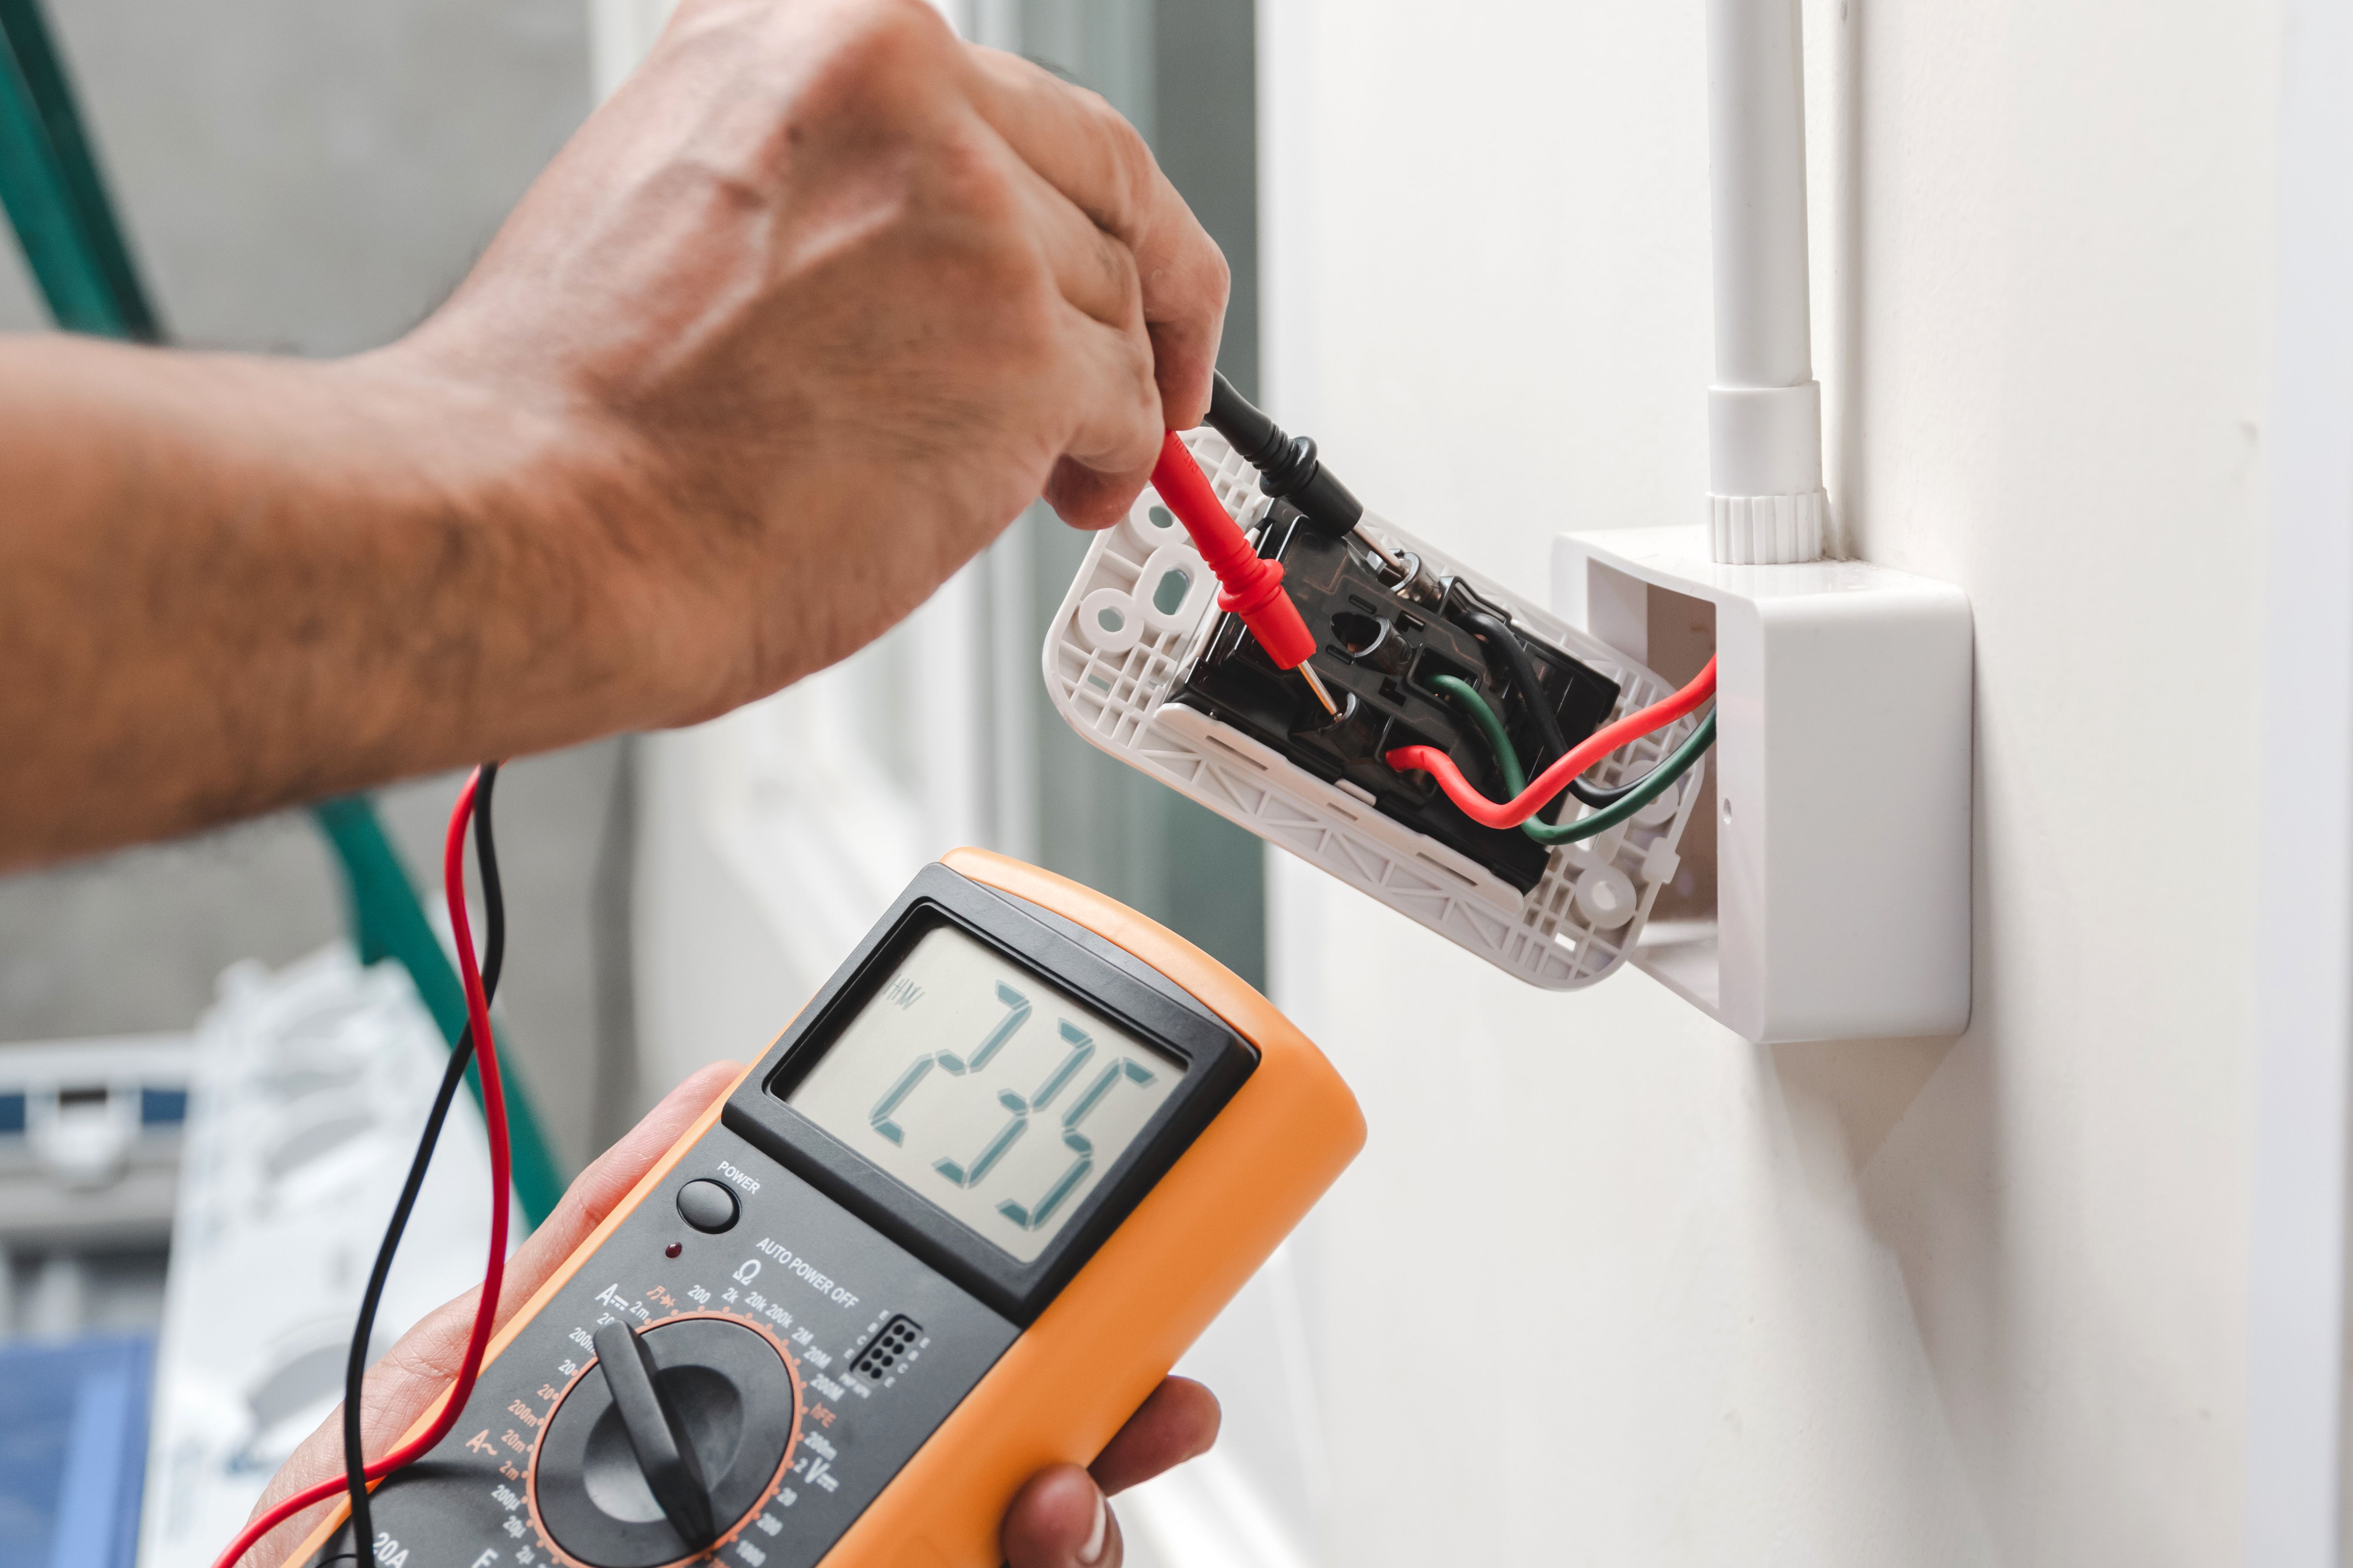
Integrating Smart Switches
If your system includes smart switches or dimmers, follow these guidelines for installation:
- Turn off power to the switch at the circuit breaker.
- Remove the existing switch plate and unscrew the switch from the wall box.
- Use a voltage tester to ensure wires are not live before proceeding.
- Connect the smart switch according to the manufacturer's instructions, ensuring all wires are secure.
- Attach the switch to the wall box and secure the switch plate.
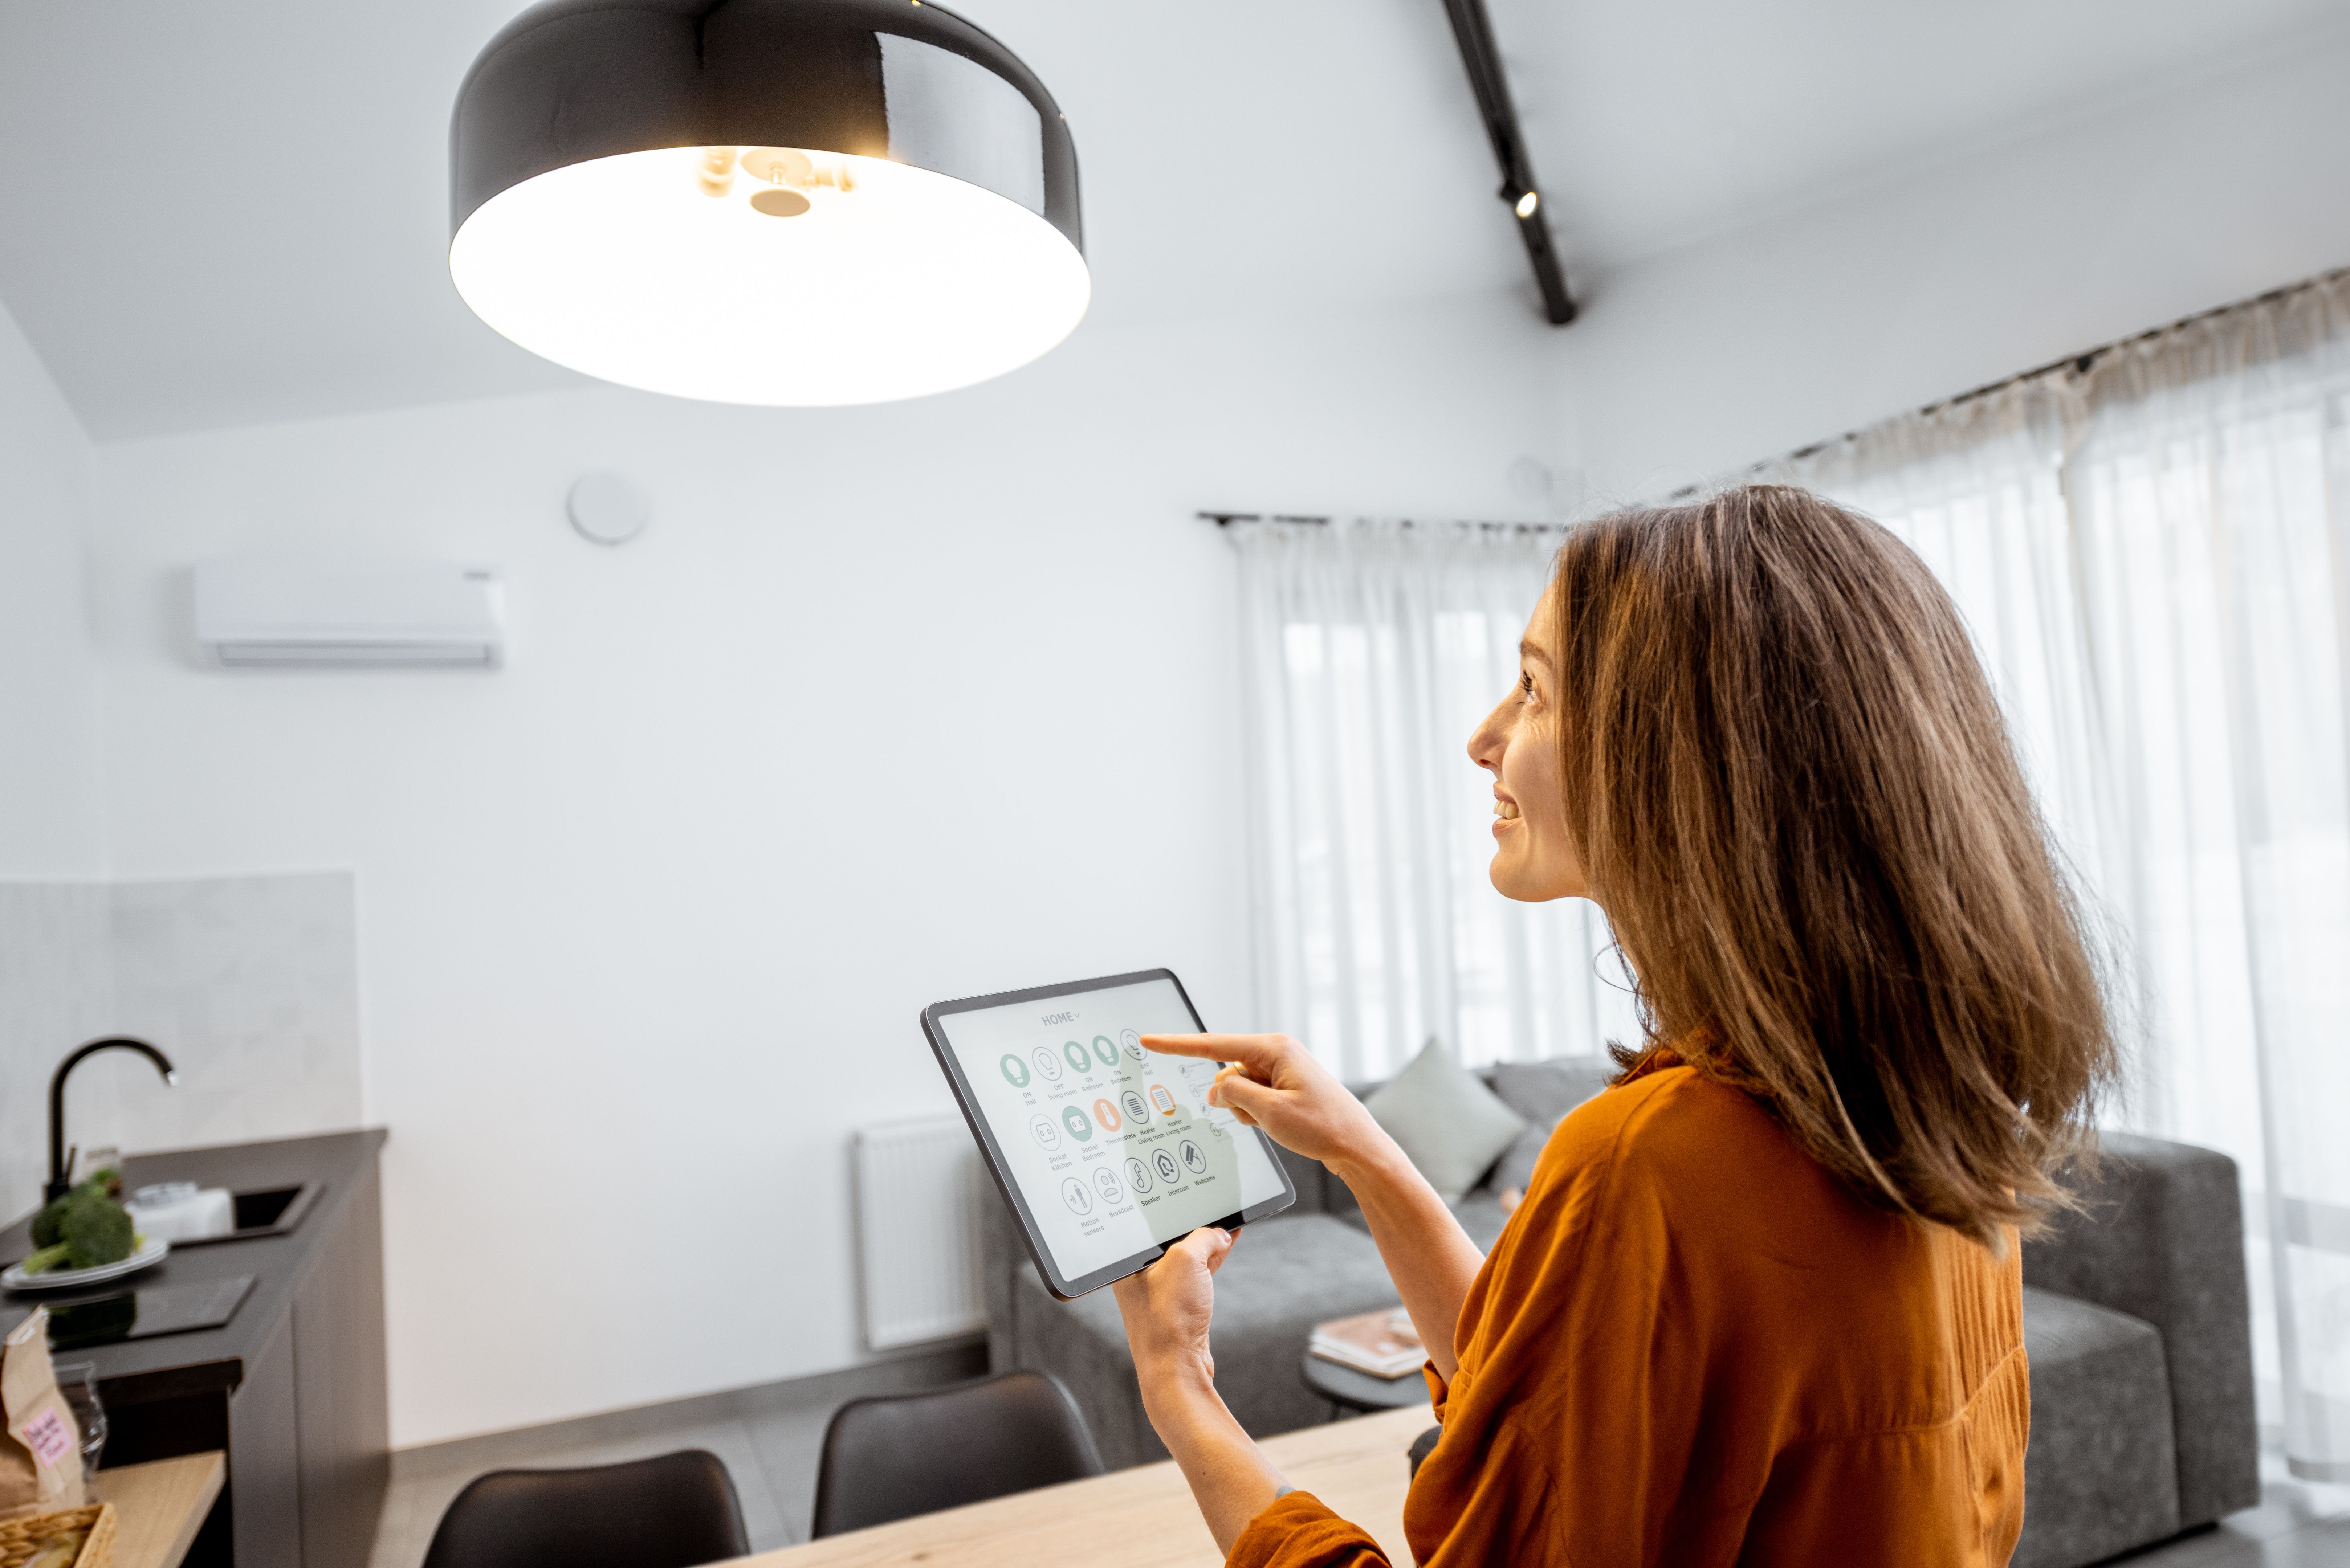
Configuring Your System
With all hardware installed, configure your system for optimal use. Use your app to set up schedules, scenes, and automation rules that fit your lifestyle. For instance, you can schedule lights to turn on at sunset or create a "Movie Time" scene that dims lights for an ideal viewing experience.
Experiment with different settings and integrate voice commands if your system supports it. This allows you to control your lights hands-free, adding another layer of convenience.
Troubleshooting and Maintenance
If you encounter issues during installation or use, check the manufacturer's support resources for troubleshooting tips. Common problems include connectivity issues, which can often be resolved by restarting your hub or router.
Regularly update your app and firmware to ensure optimal performance and security. Smart lighting systems are designed for ease of use, but staying informed on updates and new features will enhance your experience.
Enjoy Your Smart Home Lighting
With your new smart lighting control system, enjoy improved convenience, energy efficiency, and ambiance in your home. Whether you're unwinding after a long day or hosting a dinner party, your smart lights can adapt to any situation with just a few taps on your device.
This DIY project not only enhances your home's functionality but also adds a touch of modernity. Share your experience and innovations with friends and family, inspiring them to embrace smart technology in their own homes.